
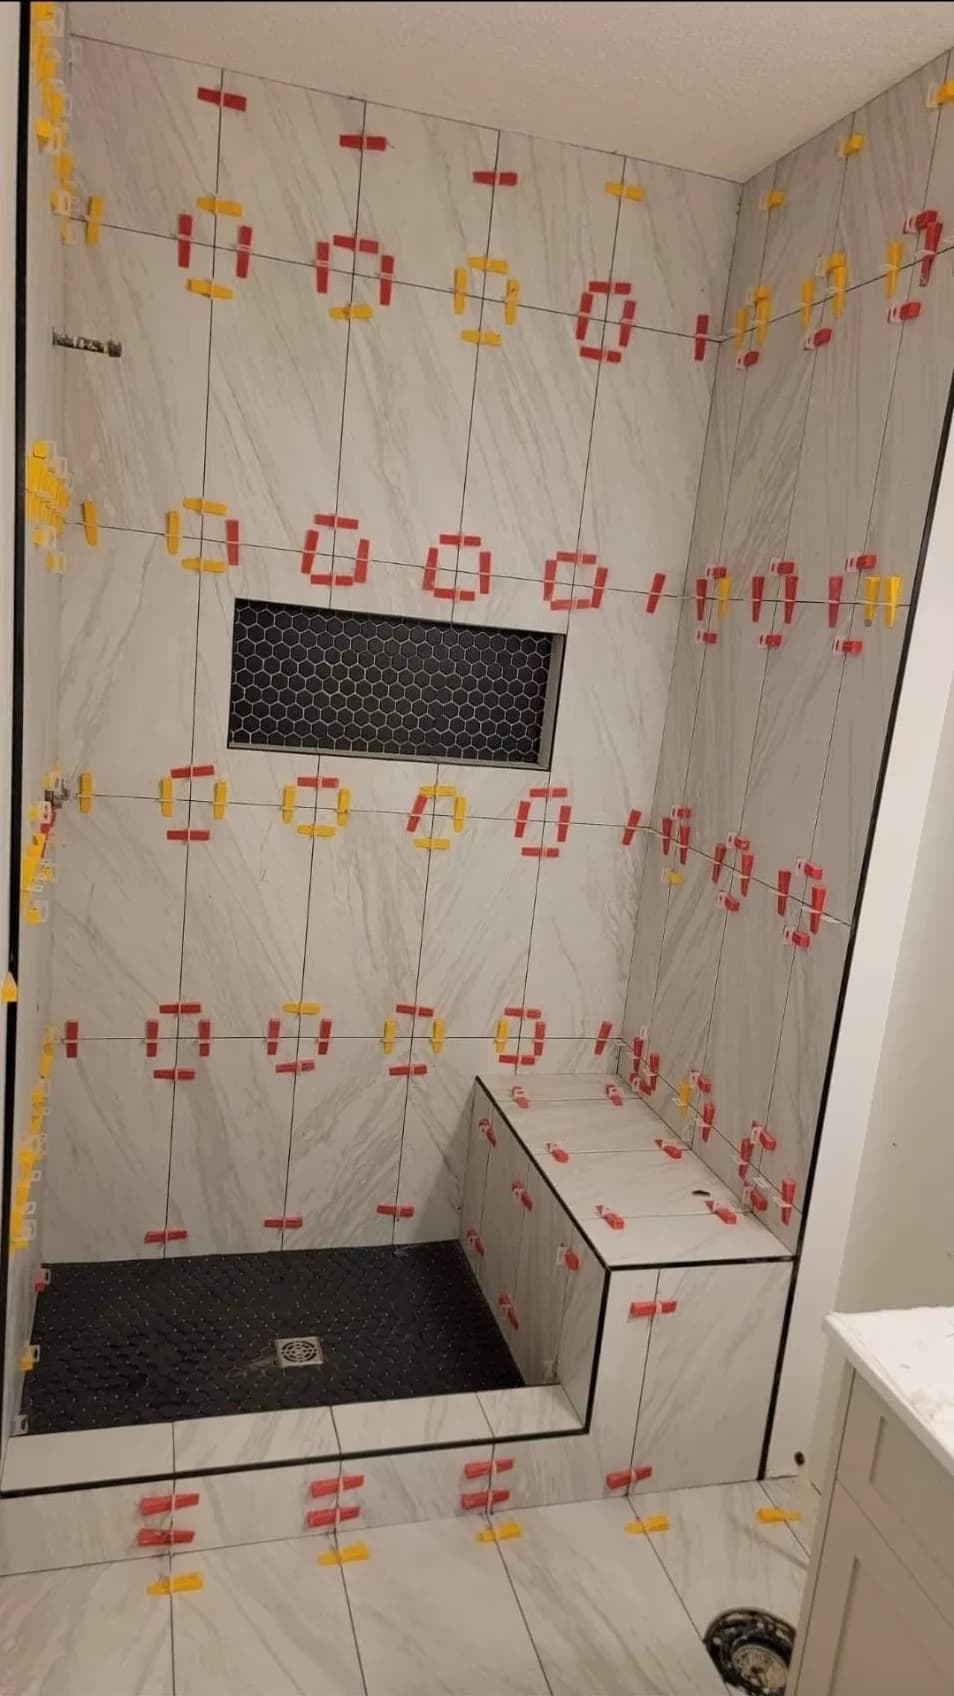
Bathroom Tile Installation Calgary Free Quote
Bathroom tile installation in Calgary requires more than choosing an attractive tile and applying it to the floor or wall. Bathrooms are exposed to moisture, temperature changes and daily use, so every stage of the installation must be completed correctly. Surface preparation, waterproofing, tile layout, mortar coverage and grout selection all affect how the finished bathroom looks and how long it lasts.
Whether you are renovating an older bathroom, replacing damaged tile or completing a new construction project, professional planning helps prevent expensive problems later. FlooringDNA provides residential, commercial and multi-family tile installation services in Calgary, including bathroom floors, shower walls, backsplashes and custom tile applications.
Why Proper Bathroom Tile Installation Matters
Tile is one of the most durable materials available for bathrooms, but the final result depends heavily on the installation process. Even high-quality porcelain or ceramic tile can crack, loosen or become uneven when installed over an unstable surface.
A professional bathroom tile installation should provide:
- A flat and stable finished surface
- Consistent tile spacing and grout joints
- Proper mortar coverage behind every tile
- Waterproof protection in wet areas
- Clean cuts around corners, drains and fixtures
- Balanced tile placement throughout the room
Correct installation also improves maintenance. Smooth transitions, properly sealed areas and consistent grout lines make the bathroom easier to clean and reduce the risk of water entering behind the tile.
Surface Preparation Before Tile Installation
Surface preparation is the foundation of every successful tile project. Before installation begins, the existing floor and walls should be inspected for movement, damage, uneven areas and moisture-related problems.
The preparation process may include:
- Removing existing tile or flooring
- Repairing damaged subfloors
- Replacing unsuitable wall boards
- Filling cracks and low areas
- Applying self-leveling products
- Cleaning dust, adhesive and construction debris
Tile should not be installed directly over a weak, loose or uneven substrate. If the floor moves, the tile and grout can eventually crack. If walls are not flat, large-format tiles may create uneven edges known as lippage.
FlooringDNA also provides demolition, floor repairs and subfloor preparation when these services are required before the new installation begins.
Waterproofing Shower and Wet Areas
Waterproofing is one of the most important parts of a bathroom renovation. Tile and grout create a durable finished surface, but they should not be treated as the primary waterproofing system.
Shower walls, shower floors, niches and other wet areas require a properly installed waterproof membrane behind or directly beneath the tile. This system helps prevent water from reaching the framing, insulation and surrounding structure.
Poor waterproofing can lead to:
- Mold and mildew growth
- Swollen or damaged wood
- Loose or cracked tile
- Stained ceilings below the bathroom
- Expensive structural repairs
Waterproofing is hidden once the tile is installed, but it has a major effect on the long-term performance of the bathroom. It should be completed carefully and allowed to cure according to the product requirements before tile installation begins.
Choosing the Right Bathroom Tile
The right tile depends on the location, design and maintenance requirements of the bathroom. Porcelain tile is commonly selected for bathroom floors because it is dense, durable and resistant to moisture. Ceramic tile is frequently used on walls because it is lightweight and available in many styles.
Common bathroom tile choices include:
- Porcelain floor tile
- Ceramic wall tile
- Large-format porcelain
- Mosaic shower floor tile
- Marble-look tile
- Natural stone accents
- Textured slip-resistant tile
Shower floors generally require smaller tiles because additional grout lines provide better traction and make it easier to create the correct slope toward the drain. Large-format tiles can create a clean and modern appearance on walls and main bathroom floors, but they require a flat surface and careful installation.
Planning a Balanced Tile Layout
A professional tile layout should be planned before installation starts. The installer must consider the size of the room, tile dimensions, doorways, fixtures, niches, corners and visible focal points.
A well-planned layout avoids narrow tile pieces in highly visible areas and creates a more balanced appearance. It also helps align grout joints across walls, floors and shower features.
The layout process may involve:
- Finding the centre or main visual line
- Measuring the room in both directions
- Dry-laying tiles before installation
- Planning cuts around fixtures
- Aligning wall and floor grout lines
- Positioning feature tiles or patterns
Careful planning is especially important for custom showers, herringbone designs, large-format tiles and bathrooms with multiple corners or built-in niches.
Mortar Coverage and Tile Placement
The correct mortar must be selected for the tile type, size and substrate. Mortar should be mixed to the proper consistency and applied using the correct notched trowel.
Large tiles often require additional attention to achieve full coverage. The back of the tile may need a thin layer of mortar before placement, commonly called back-buttering. Insufficient mortar coverage can create hollow areas that weaken the installation.
During placement, each tile should be pressed firmly into the mortar while maintaining the planned spacing. Tile-leveling systems may be used to reduce uneven edges, but they do not replace proper surface preparation or installation technique.
Grout, Caulking and Finishing Details
Grout colour can either blend with the tile or create contrast. The grout type should be suitable for the bathroom environment and the width of the joints.
After the mortar cures, grout is applied and cleaned from the tile surface. Changes of plane, such as wall corners and the connection between the wall and floor, commonly require flexible sealant instead of rigid grout. This allows slight movement without immediate cracking.
Finishing details also include:
- Cleaning grout haze
- Sealing where required
- Installing edge profiles
- Completing transitions
- Applying silicone around fixtures
- Inspecting joints and tile alignment
These final steps have a significant effect on the appearance of the completed bathroom.
How Long Does Bathroom Tile Installation Take?
The timeline depends on the bathroom size, tile type and amount of preparation required. A straightforward floor installation may take a few days, while a complete shower renovation can require demolition, repairs, waterproofing, curing time, tile installation and grouting.
Rushing the process can reduce installation quality. Mortar, waterproofing and grout products need sufficient curing time before the bathroom is exposed to regular use.
To estimate the approximate floor or wall area before requesting a quote, use our square footage calculator.
Professional Bathroom Tile Installation in Calgary
A durable bathroom tile installation depends on proper preparation, waterproofing, accurate layout and skilled finishing. Each stage should support the next, from the condition of the substrate to the final grout and silicone work.
FlooringDNA completes projects of every size, including small bathroom upgrades, full renovations, commercial spaces and multi-family developments. View examples of our completed work on the Calgary flooring projects page.
For bathroom floors, shower tile, wall tile or complete tile replacement, contact FlooringDNA to discuss your project and request an estimate.
FlooringDNA · Calgary
Planning a flooring project?
Get a free estimate for your flooring project in Calgary.
About
FlooringDNA
Since 2016, FlooringDNA has delivered luxury vinyl plank (LVP), tile installation and flooring solutions for projects of every size across Calgary.
More articles